I have had several emails asking about making materials, one question in particular was how to make frames. I thought I would make a tutorial, hope this helps! I do most of my designing of classroom materials with ppt (and my blog stuff as well).
I always start my creating in ppt with a blank slide. Go ahead and delete the text boxes and start with a clean slate.
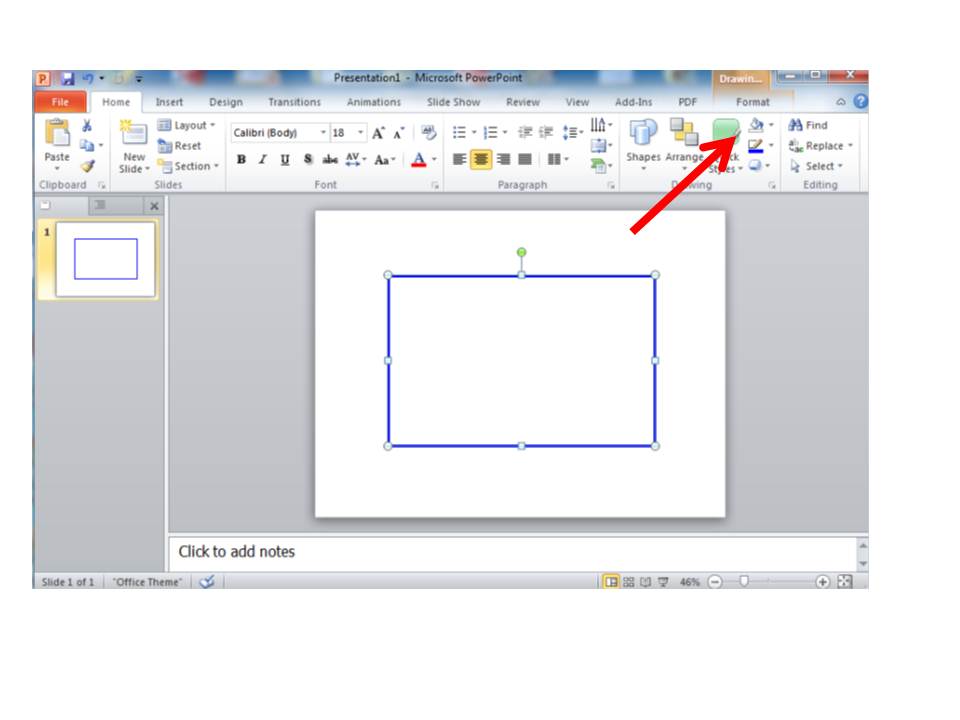
This is the home screen. On this screen you will be able to choose your fonts and colors for your text and frames.
Click on the insert tab at the top of the page and choose shapes, when the box drops down, choose the shape you want to use.

Click back to the home tab, size your frame with the cursor by highlighting the shape.
On the home tab, there is a format tab. This tab allows you to choose the color of your frame, the width of the lines and whether you want a solid frame or dashes. The pictures below show you each of the drop down tabs you can use to change your frames. The paint can allows you to choose a color or no fill. I always use No Fill for my frames. The pencil allows you to choose the outline color, the width of your lines and dashes.
These are examples of different frmes.


4 comments:
Thanks for the great tutorial!!
Lisa
Learning Is Something to Treasure
You are so welcome Lisa, thank you for stopping by! I love your blog!
Linda
THANK YOU! I am going to use your tutorial to help me teach my summer school students to make frames in PPT! THANKS AGAIN!
Thank you so much! I appreciate the help more than you know! Have a great weekend!
Post a Comment